Spring is a natural time for renewal—days are getting longer, temperatures are gradually warming, and it’s a perfect season to start planting herbs. Whether you’re hoping to add fresh flavors to your kitchen or natural fragrances to your home, a small herb garden is a great low-maintenance project that thrives in the coming months. Below is a concise, step-by-step guide to starting your own herb garden in Pendleton, Oregon.
1. Choose Your Herbs Wisely
While many herbs can adapt to cooler temperatures, some are more cold-hardy than others, making them better suited for early spring in Zone 6/6b:
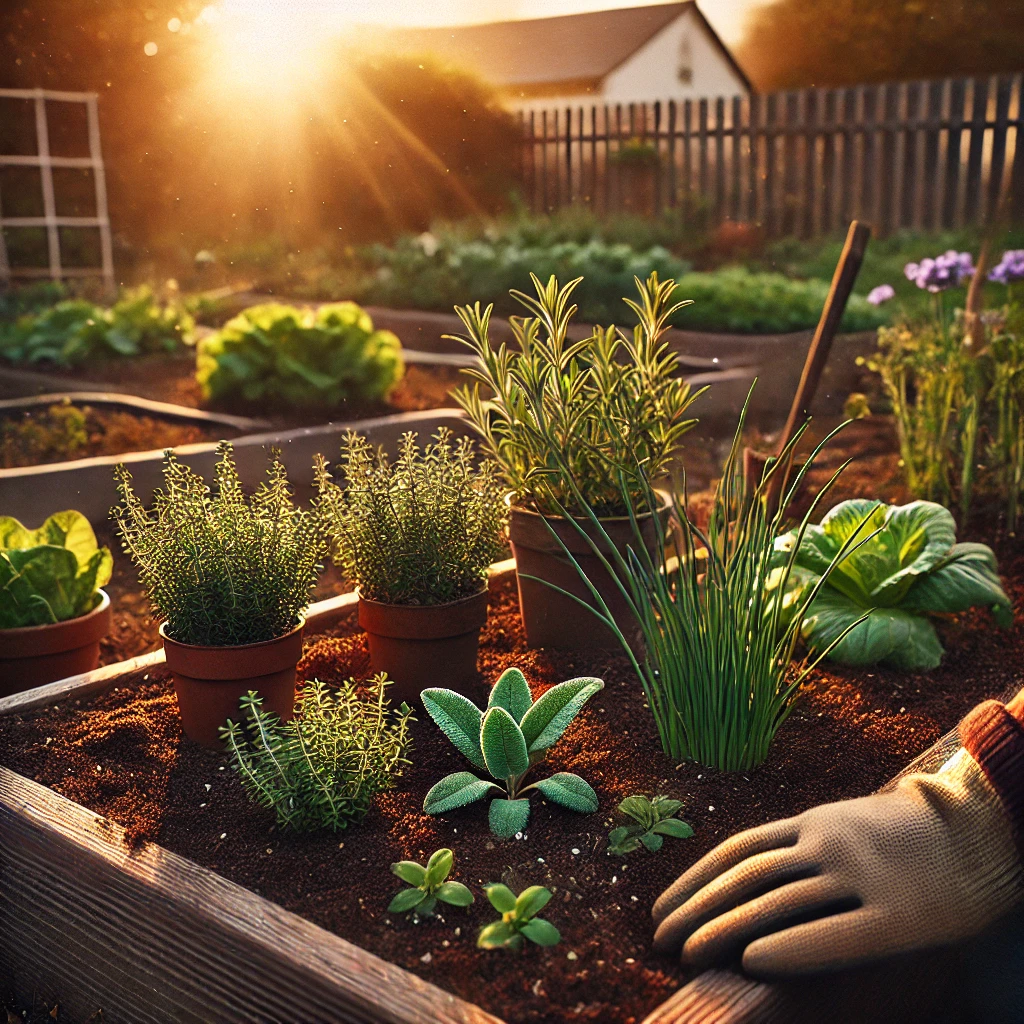
- Thyme – Tolerates mild frosts and can be grown in containers or directly in the ground.
- Rosemary – Prefers full sun, does well in pots, and has moderate frost tolerance.
- Sage – Thrives in well-drained soil; aromatic leaves can be harvested year-round in mild winters.
- Mint – Grows vigorously; best contained in pots to prevent its spread.
- Chives – Hardy in cooler conditions; can be harvested quickly for fresh flavors.
- Parsley – Biennial herb that loves the cooler temperatures of early spring.
If you’re new to herb gardening, start with just two or three varieties you regularly use in cooking. That way, you’re more likely to keep up with watering, pruning, and harvesting.
2. Container Gardening vs. In-Ground Planting
The next decision is whether to plant your herbs in containers or directly in the ground. Each has its pros and cons:
- Containers
- Pros: Greater control over soil type, easy to move indoors during a late-season frost, can be grouped in smaller spaces like patios or balconies.
- Cons: Soil dries out faster, requiring more frequent watering; smaller space can lead to root crowding.
- In-Ground
- Pros: More extensive root growth possible, less frequent watering, a more permanent and natural look.
- Cons: Requires well-draining soil; less flexible if a late frost or unexpected weather event occurs.
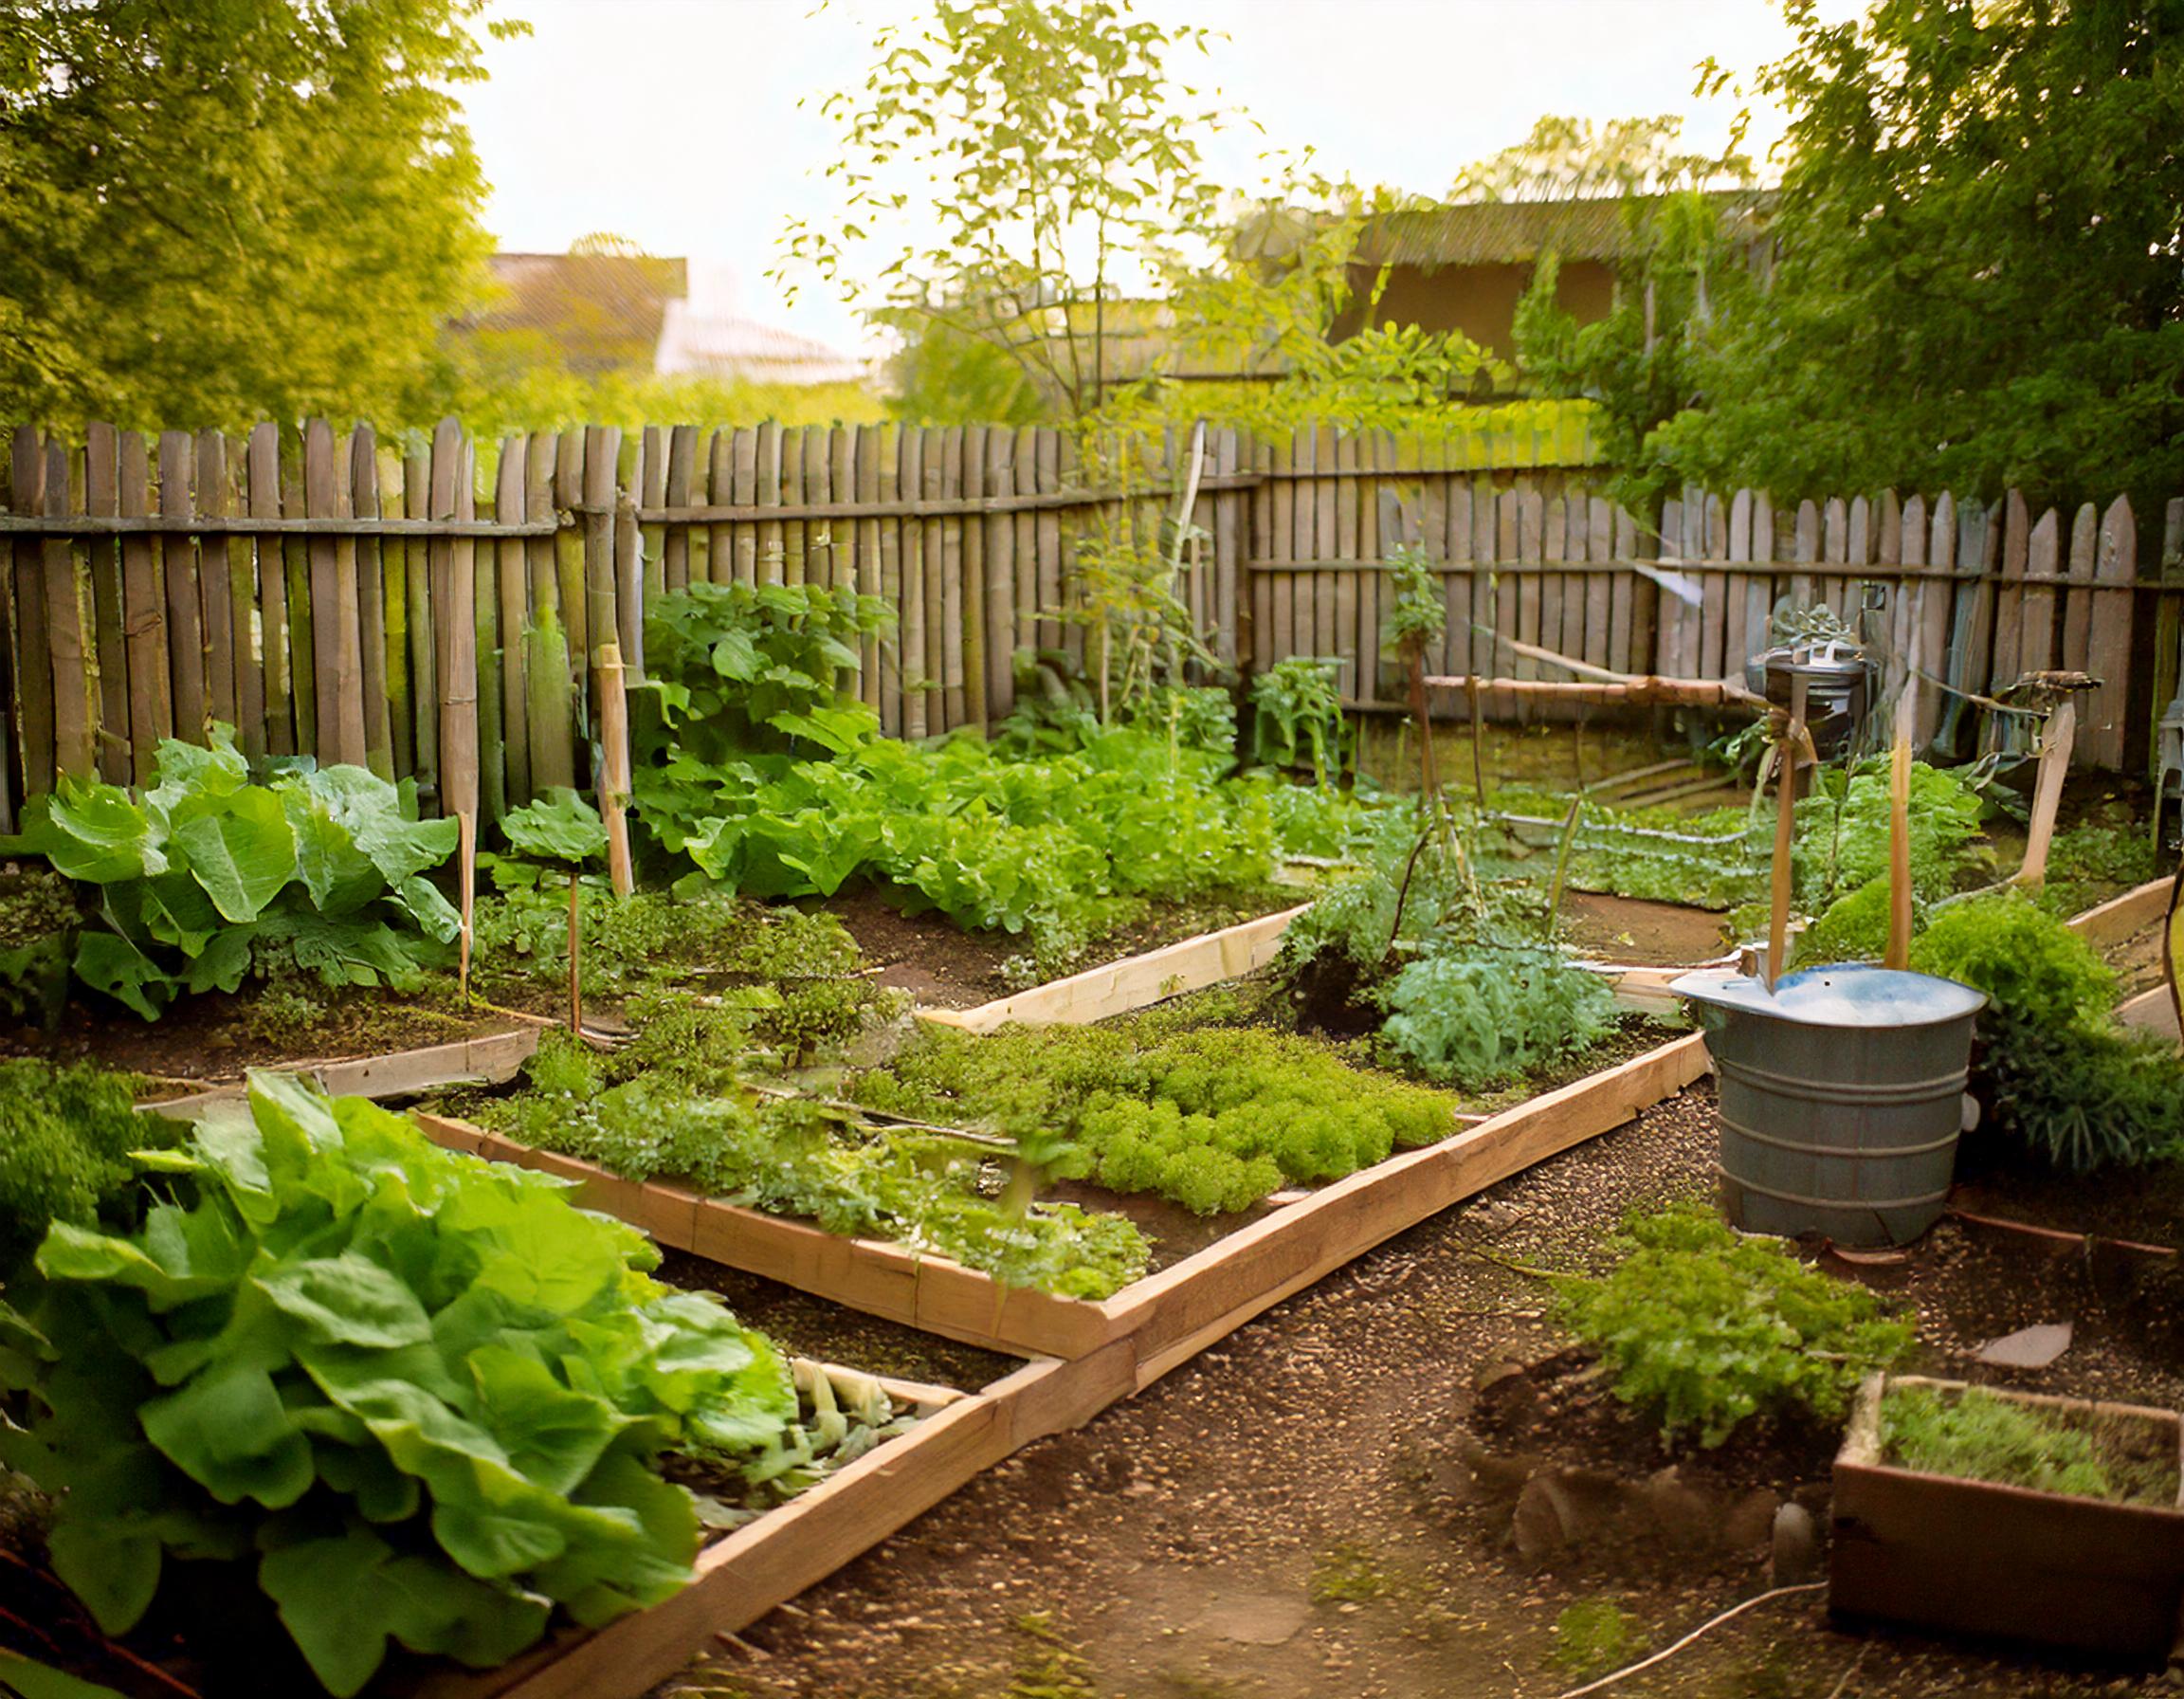
Many herb gardeners opt for a hybrid approach—keeping tender or aggressively spreading herbs in pots while planting hardy herbs like rosemary and sage directly in well-prepared garden beds.
3. Soil Preparation
Good soil is foundational for a thriving herb garden:
- Drainage: Herbs hate soggy roots. If you’re planting in the ground, make sure your spot has well-draining soil. Consider raised beds or mounded rows if your native soil is heavy with clay.
- Nutrients: Work in a few inches of compost or well-aged manure to boost organic matter. Herbs generally don’t need excessive fertilization, but they benefit from balanced compost to get started.
- pH Balance: Most herbs prefer a neutral to slightly alkaline pH (6.0–7.5). A simple home test kit can help you confirm the pH if you suspect your soil may be too acidic or too alkaline.
4. Planting and Spacing
- Timing: Generally, herbs can be sown indoors or purchased as small seedlings and transplanted outdoors once the risk of a hard frost has passed. In Pendleton, that’s typically early to mid-April, though keep an eye on the forecast.
- Depth: For seeds, follow packet instructions. If you’re using transplants, dig a hole as deep as the root ball, gently loosen the roots, and settle them in.
- Spacing: Give each plant enough room to spread. Rosemary and sage need a bit more space (1–2 feet), while thyme, chives, and smaller herbs can be spaced closer (about 8–12 inches).
5. Water and Mulch
- Watering Routine: Newly planted herbs need consistent moisture while establishing roots. Water them deeply (but not excessively) a few times a week. As they mature, they’ll need less frequent watering.
- Mulching: A layer of organic mulch like straw or wood chips around the base of your herbs helps retain soil moisture and suppress weeds. Keep mulch an inch or two away from the herb stems to avoid rotting.
6. Harvesting
One of the joys of growing your own herbs is clipping fresh sprigs right when you need them. Here are a few tips for ensuring consistent harvests:
- Timing: Morning is ideal, as herbs contain the most essential oils at that time.
- Technique: Use clean pruning shears or scissors to avoid bruising stems. Cut above a leaf node to encourage branching and further growth.
- Quantity: Harvest lightly at first. As plants grow stronger, you can take larger bunches. Most herbs respond well to frequent light harvests.
7. Overwintering Tips
Although this may feel like planning far ahead, thinking about the future health of your herb garden sets you up for success:
- Bring Tender Herbs Indoors: Herbs like basil won’t survive a harsh Pendleton winter, but pots can be moved indoors to a sunny windowsill.
- Prune and Protect Perennials: Woody herbs like rosemary and sage appreciate a light pruning before the first hard frost. A layer of mulch around their base can offer insulation.
8. Bonus: Maximizing Your Harvest
- Preservation: If you find yourself with a generous amount of herbs, consider drying or freezing them. Dried herbs retain flavor for months if stored in airtight containers, and frozen herb cubes (chopped herbs + olive oil) can be conveniently added to soups and sauces.
- Creative Uses: Beyond cooking, herbs can be used for homemade teas, infused oils, skincare products, and even natural insect repellents (e.g., mint and lavender).
Conclusion
Starting a small herb garden can be an incredibly rewarding endeavor, especially as spring unfolds in Pendleton. By selecting cold-hardy varieties, preparing your soil properly, and giving your young herbs the care they need, you’ll be harvesting flavorful, aromatic leaves well into the warmer months—and potentially through winter if you plan wisely. With each fresh snip, you’ll not only elevate your cooking but also deepen your connection to the natural rhythms of the growing season.
Give a few of these resilient herbs a try this spring, and watch your garden (and culinary possibilities) flourish. Happy planting!


